Yesterday we’ve developed our first Add-in for Word, that is – the web ‘site’ that represents the Add-in. We did however run into an issue where the certificate for the website wasn’t recognized due to the different naming on the certificate. Also, the certificate wasn’t trusted so even if we had a correct named certificate we needed to add it to the trusted root certificates.
Let’s fix the naming issue first. To do so we need to create a new certificate with the right name on it. There are a couple of options to do this. For now, I will be using OpenSSL to create this new certificate.
To do so you’ll need to install some tooling to support OpenSSL on your Windows machine. You can download it here:
https://slproweb.com/products/Win32OpenSSL.html
From the downloads, I installed the Win64 OpenSSL v1.1.0f version. By the time you read this it may have been updated to a newer version. Just check the list of downloads to see what the current version is.
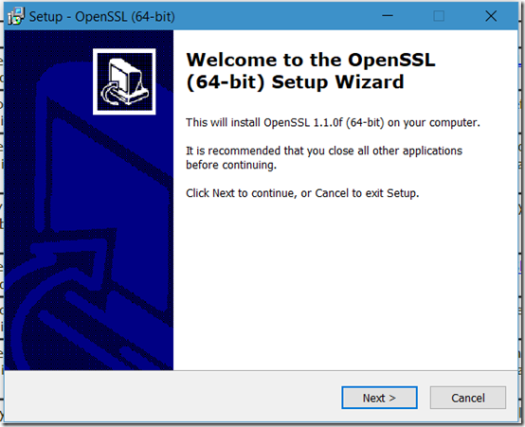
Installing Win64 OpenSSL v1.1.0f
Installing is fairly trivial, just follow the instructions, click Next
Accept the agreement (or don’t but you won’t get the software then ) and click Next again.
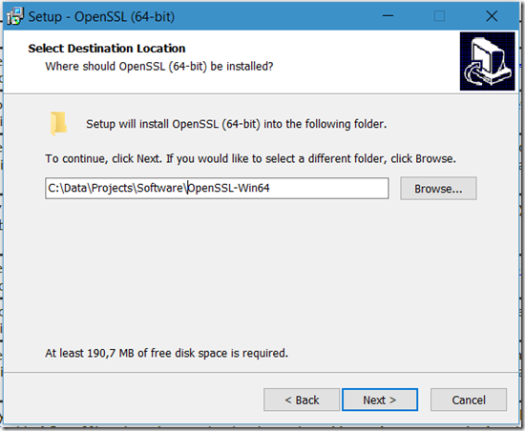
Select the path where you want to install the software. Initially it opts to install it in the root of the C:\ drive, but I prefer not to put it in the root of my drive so I’ve changed this to put it in my data folder. Click Next.
Accept the default and click Next.
Again, I prefer not to install directly into my system directory so I changed the default to “The OpenSSL binaries (/bin) directory. Click Next.
Click Install to install the software
Optionally you are asked to support the Windows OpenSSL software by donating an amount of money. Feel free to what you think it is worth and click Finish.
Now you can find the installed software in the location specified in step 3 of the installation process.
To create the certificate in your Word Add-in projects you need to create a subfolder in the root of your Add-in project:
Create a .\certs folder in the project
Copy openssl.cnf from (in my case) C:\Data\Projects\Software\OpenSSL-Win64\bin\cnf into the certs folder you just created in the previous step
Open the .\certs\openssl.cnf file and add the following to the end of the file:
[ SAN ]
subjectAltName=DNS:localhost
Open a command window and run the command from the .\certs folder:
C:\Data\Projects\Software\OpenSSL-Win64\bin\openssl genrsa -des3 -out server.key 2048
This will generate the private key. In this process, you need to enter a password twice:
Next you will be generating the certificate request:
C:\Data\Projects\Software\OpenSSL-Win64\bin\openssl req -new -sha256 -key server.key -out server.csr -subj /CN=localhost -reqexts SAN -config openssl.cnf
You will need to enter the previously inserted password again here.
Now generate the certificate based on the request
C:\Data\Projects\Software\OpenSSL-Win64\bin\openssl x509 -req -days 3650 -in server.csr -signkey server.key -out server.crt -extensions SAN -extfile openssl.cnf
Again, enter pass phrase …
Now copy the password protected server key:
copy server.key server.key.copy
Create an unprotected private key:
C:\Data\Projects\Software\OpenSSL-Win64\bin\openssl rsa -in server.key.copy -out server.key
At this time you’ll have an RSA key with the necessary subject and subjectAltName. Let’s put this into our project by changing the bsconfig.json file in the root of the project.
Replace the line "https": true, with the following:
"https": {
"key": "./certs/server.key",
"cert": "./certs/server.crt"
},
Like this:
Don’t forget to save the bsconfig.json file before running npm start as I did, otherwise it still won’t like your certificate as it will point to the old one .
npm start
If all goes well we’ve now fixed the certificate error due to the different naming and our website will run fine (on your local machine on port 3000):
Now we fixed the website we are now ready to run it as a Word Add-in in a Word client. We will go over the steps to do this in my next blogpost.
To be continued


3 Replies to “Office Development – Fixing Certificate Issue with OpenSSL Certificate”