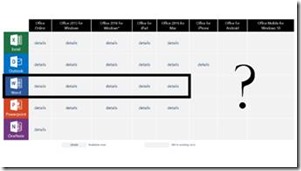
Yesterday in my blogpost I showed you the instructions to perform to create your first Word Add-in not by command line tools like I showed earlier, but by using Visual Studio 2017. So here it is:
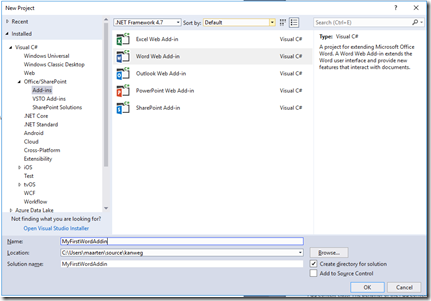
Boot up your Visual Studio IDE and select File, new Project. In the New Project Dialog select on the left hand of the dialog the tree item Add-ins under the Office/SharePoint node. On the right hand you get options to build Add-ins for Excel, Word, Outlook, PowerPoint and SharePoint.
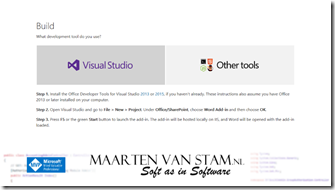
They still call it Web Add-in, if you ask me this name is a bit outdated. I believe the Add-ins are called just Office Add-ins (with the capital A). There was a time these things were called “Apps for Office”. The name used today on the http://dev.office.com website is:
Where were we? …. Oh, yes … Creating a new project. Name your new project any name you would like to give it, I opted for MyFirstWordAddin. Change the folder if you want to store it somewhere else other than the default project output path and click OK to start creating your project. If all goes well you’ll see the following ‘progress’ bar appearing on your screen.
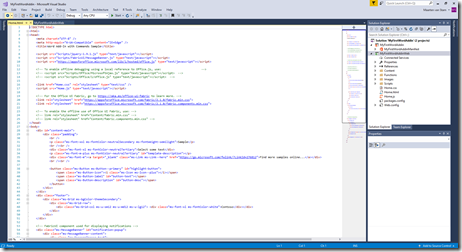
It takes a couple of minutes to finish, but when it does it will open a code window like this:
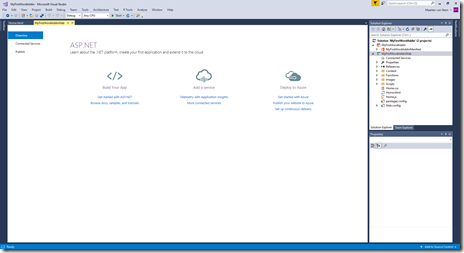
And another tab was created to show you some helpful links to continue:
Now it is time to hit F5, the “Visual Studio Compile-Run-Debug Experience”. As we have seen ancient times ago the Office Dev team really tried to hide all the difficult stuff for you and it will create for you the security context to be able to actually run the Word Add-in without going through the hassle I described in other posts creating the Add-in using the command line tools like Yeomen.
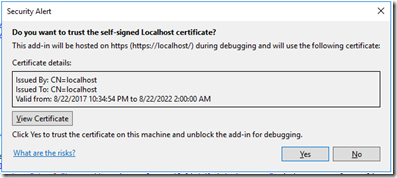
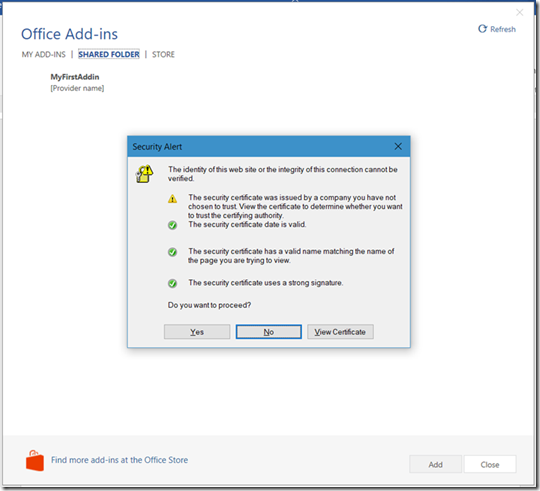
The only dialog might get to see in between is this one:
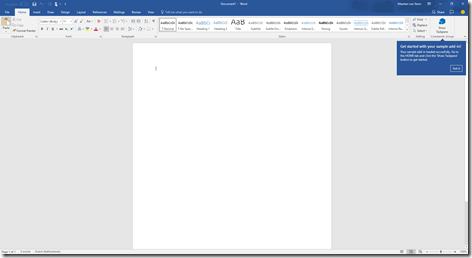
A one time only trust entry for your self-signed Localhost certificate. You’ll notice if you create a second project this dialog won’t show again as you already trusted it for your first project. Click Yes otherwise your Add-in won’t be trusted to run. It will create the security context and an instance of Word is created and installed the just created Add-in.
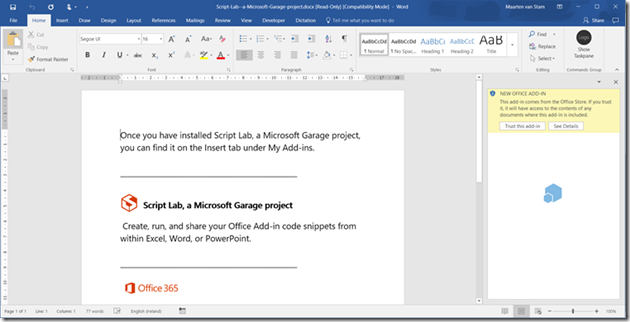
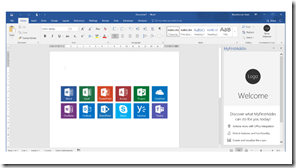
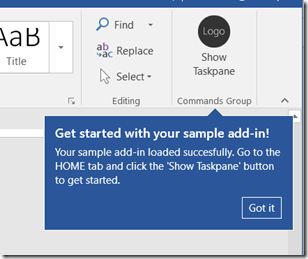
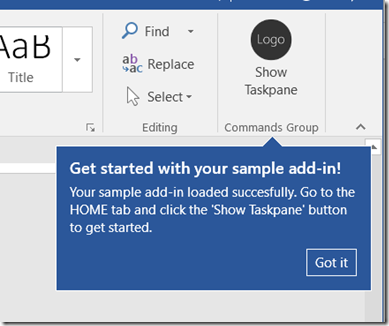
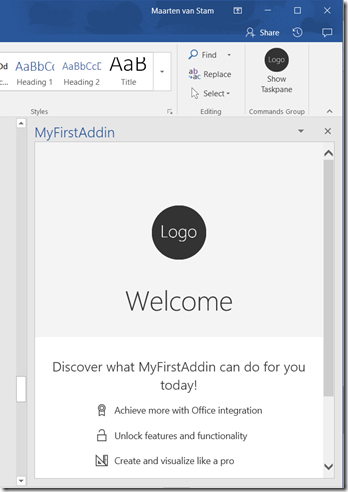
On the top right hand in the Ribbon in the Home Tab a button appears in the Commands Group with some easy instructions. You’ve seen as similar button and instructions on the command line Add-in we created a while ago.
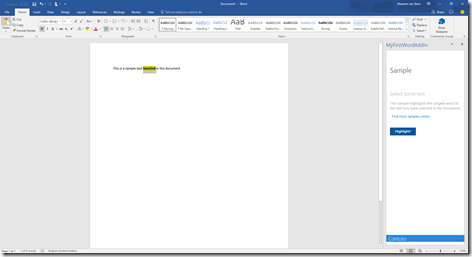
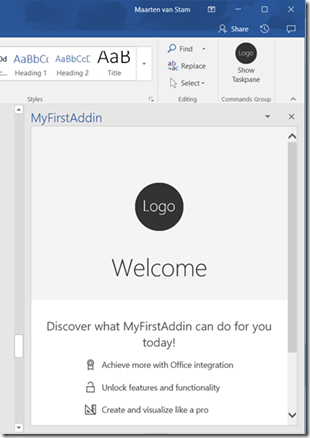
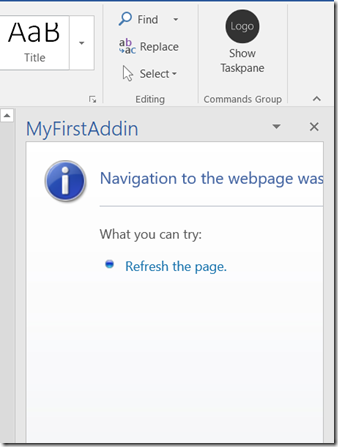
Click the button to have the Task pane appearing on the right hand. The sample Task pane wants you to select a couple of words in the document and if you press the Highlight button it will calculate the word with the most characters and highlights the word.
That is all there is to it … no fancy pansy difficult stuff to get around creating certificates and trusting the certificates. It is all done for you by the Visual Studio tooling. Impressive!
Beware however, you are not ready for production – just like the command line Add-in tools, the certificate is self signed, you are not running the ‘ web app’ in a shared (public) location to be able to access from anywhere and anytime. It is still ‘demo-ware’. Hopefully over time we will reach the golden moment of creating ‘production-ware’ ![]()
To be continued …



















![clip_image002[1] clip_image002[1]](http://maartenvanstam.files.wordpress.com/2017/08/clip_image0021_thumb.png?resize=244%2C116)
