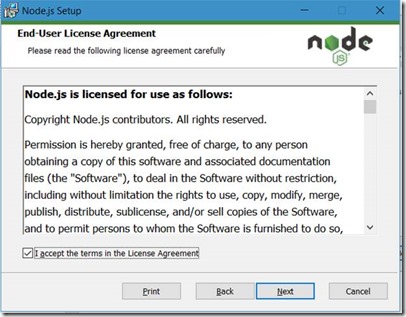
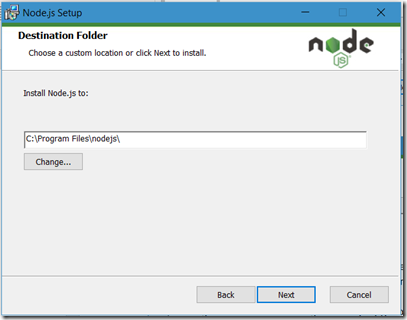
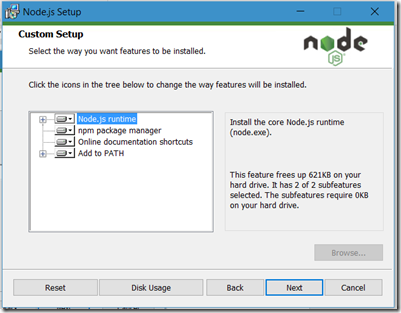
In the previous two posts around creating your first Word add-in we installed Node JS in the first post Office Development – Installing Node.js and installed Git in the second post Office Development – Installing Git. If you haven’t done this already move along and do that first.
In this post, third in the series of building your first Word Add-in (based on the JavaScript API for Office) we will install and use another tool called Yeoman.
Yeoman
Yeoman used to be a member of the social class in late medieval to early modern England (source wiki: https://en.wikipedia.org/wiki/Yeoman) but these days it is the name for an open source scaffolding tool, released at Google I/O 2012. Yeoman runs as a command-line tool and will provide you with a boiler plate project for several different solutions. Because the software is open sourced you can find it on GitHub: https://github.com/yeoman
Over time there have been created many generators for Yeoman to do all sorts of things such as creating website starters and more. The reason why we discuss it here is because they (the Office Dev Team) also created a generator that allows you to quickly build a Microsoft Office Add-in project using the Yeoman scaffolding tool.
You can use this if you simply want to start creating an add-in with a basic text editor other than Visual Studio. Of course, you can also use more advanced text editors including Visual Studio of Visual Studio Code but just to show you that you don’t need much to create your first add-in you can use this option.
Installation is easy (provided you installed the tools from the other two blogposts):
Open a Command window (Windows Flag, Command) and run:
npm install -g yo generator-office
This will globally (-g) install the Yeoman (yo) package and the Office Generator (generator-office) on your machine. The routine ends in an automatically engaged final check by yodoctor:
You can also check it yourself by running the command:
npm list -g -depth=0
If all went well you should see, as you can see in the picture above, at least yo@<version> and generator-office@<version>.
Now will be the time to generate our first Word Add-in … hooray!
Enter the command line command:
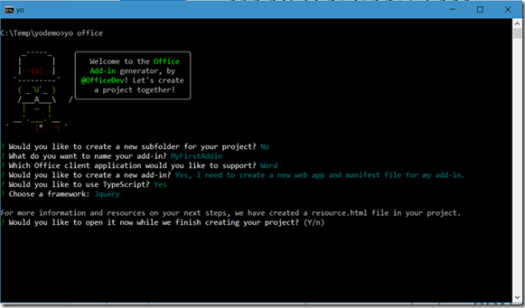
yo office
This will kick off a series of questions needed to create your add-in based on your input:
Except for the name I opted to keep the defaults. You can select other than the defaults but for now keeping the defaults is ok.
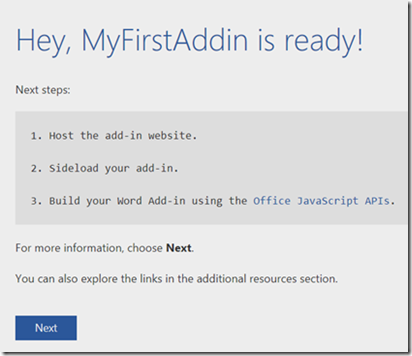
Yeoman starts generating the add-in for you and in the meantime a website is opened with instructions. The instructions take you by the hand and will guide you through the process when the add-in finished generating.
At this time generating your add-in is probably finished, so follow the instructions from the webpage by clicking Next
According to this page the next command should be:
npm start
This will start the local server hosting the add-in at:
https://localhost:3000
As you can see it will be hosted at a ‘secure’ site (https) on port 3000. This ‘secure’ site could give you some headache however. Initially the site needs the firewall to be opened:
I’d recommend unchecking the Public Networks checkbox and only to allow it on your Private Networks for now.
Continuing the process will result in another security issue:
Another no-go? Well, maybe … but let’s click “Details” first and find out what this is all about. So far not a real smooth experience for the novice office add-in developer don’t you think? Go ahead, click “Details”:
Ah! What it says is that your PC doesn’t trust the website’s security certificate … and to be more specific it found that the name of the hostname on the security certificate is different than the one you are trying to visit.
This is quite logical because you are visiting your localhost and the website’s security certificate, as you will find out a bit later, is signed to by “Internet Widgits Pty Ltd” so against all recommendations continue and click the “Go on to the webpage” link.
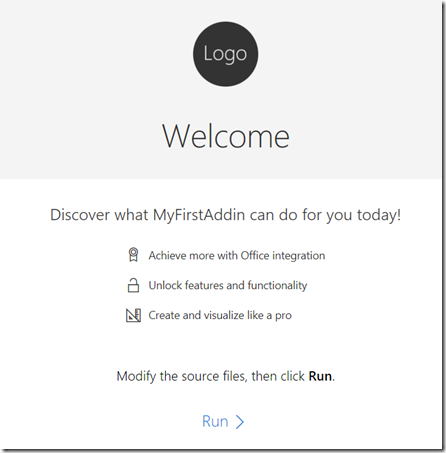
And there you have it! Your first Word Add-in!
“Well, hel-lo … there is no Word here, what do you mean” you might say … and you are right (again).
Although I explained in my earlier blogposts that Add-ins built by using the JavaScript for Office APIs basically are websites hosted in the Office client such as Word you’ve seen here that your really are building a website.
The security issues will however throw a big issue loading this website in the Word client. It will simply be rejected as it appeared to be unsafe to run.
Solving the certificate issue is a story on itself so I will put this in a separate blogpost.
What you’ve seen so far is that you built your new add-in by simply using some web development tools. No Visual Studio installations, nothing of this all. Obviously, you can use Visual Studio to create Office Add-ins, and I will show you that in another series of blogposts. For now we still need to finalize our first journey of creating this Word Add-in but we need to overcome our security issues first.
And therefor, to be continued …
