It’s time to try to build our first Word Add-in using the JavaScript for Office APIs. We won’t look at the specifics but we will just start building and see where we’ll end.
I will go into detail a lot because this is what you often won’t see in the tutorials. By going into the small detailed steps, I hope you (and I for myself) won’t get lost. Also, I think it is just good to document it in detail so if you want to look back later all steps are easy to recover. The risk is of course that by then everything changed .
For this first Word Add-in, we will be using Yeoman and not to make things too complicated we start with Windows, the platform most existing Office developers come from. Yeoman is a Web Scaffolding Tool for Modern Webapps. That’s right webapps … welcome to the world of Web Developers. A world of weird named tools such as Grunt or Gulp and nothing like the .NET world.
With Yeoman, you can generate a project from scratch that inserts all you need to start quickly. To install Yeoman, you need to install Node.js and Git. For Node.js we go to nodejs.org and on the start page of this site you see the downloads:
What you see is two options: LTS (Long Term Support) and Current. The LTS version is the most stable version and this is the version that they committed to support for the long term. With the Current version, you are on your own. For now, it is ok to install the LTS release.
To check if you already have installed Node open a command window (cmd) and type:
node -v <enter>
If it isn’t installed you obviously won’t get a version returned, otherwise you’ll see something like:
V6.11.0
We’ll install v6.11.2 in this case so here we go:
Click Next to continue …
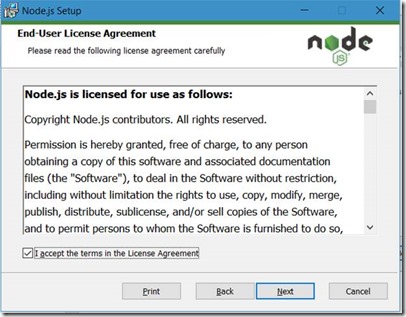
Check the checkbox to accept the License Agreement and click Next
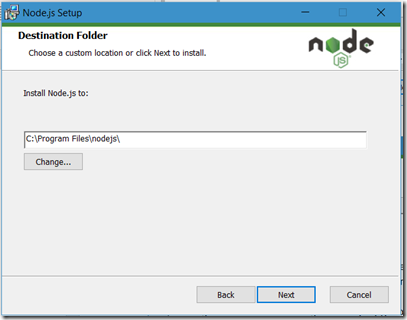
Select the Destination Folder (just leave as it is, or if you want it somewhere else change the path) and click Next to continue.
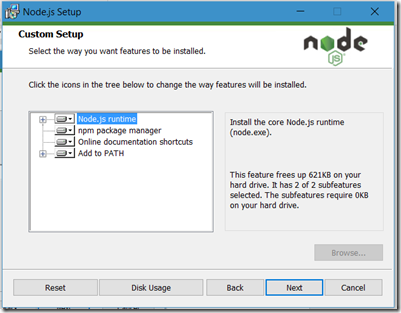
As you can see here is also the option to install the npm package manager. You’ll see later on that this tool will be used a lot to keep your installed packages up to date or just to install new packages. I just install all options here and click Next to continue.
Ready to install Node.js … Click Install!
Accept the security dialog to install in elevated mode and wait for the installer to finish up.
Done!
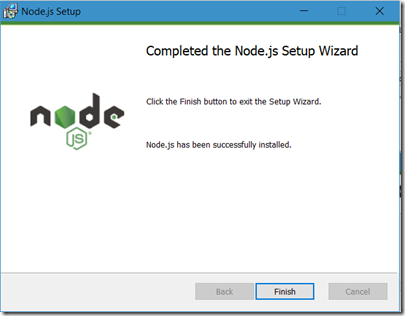
Click Finish to close the Node.js Setup Wizard and check the current installed version by opening a Command window (Windows Flag, Run, Cmd) and type
node -v <enter>
Result:
V6.11.2
In my next post, we’ll continue by installing Git and continue our endeavor to build our first JavaScript for Office Word Add-in.
In the meantime try to read some more about Node.js on their website: https://nodejs.org
To be continued …






5 Replies to “Office Development – Installing Node.js”