In our previous step to build our first Word Add-in with JavaScript for Office we installed Nodejs. Today we continue with installing Git. Over time there will not be a need to install these tools again, by then you will be a professional web developer living in the world of these tools and probably have these installed already before jumping into another project.
For now I assume you didn’t have the tools installed, but you can check on the command line with the command:
git –version
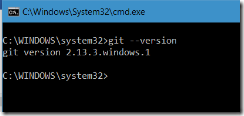
If you already installed Git you probably see something like this:
You can find the Git installer just by GoogleBinging for “Git” and this will lead you to:
Now, on the right you see a nice downloader button that selects your installer based on the machine that you are on. Click this, and hit Run (usually you wouldn’t be so dumb and save the downloader first on your machine in order to have the anti-virus checker check your download but for now we just let it run #yolo … )
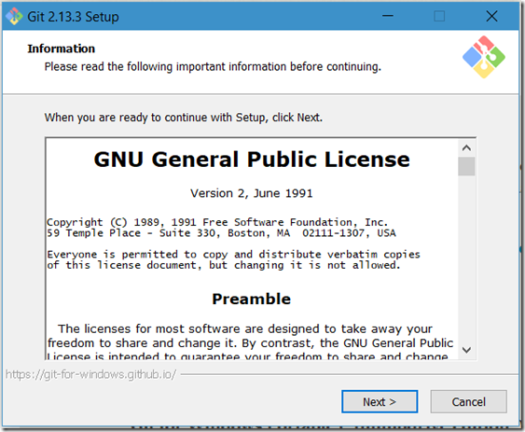
As usual the first dialog you’ll see are the GNU License terms, your only option is to agree by clicking next or abandon the installer and start reading a good book and continue living your life without the software. Today we’ll decide to go on however …
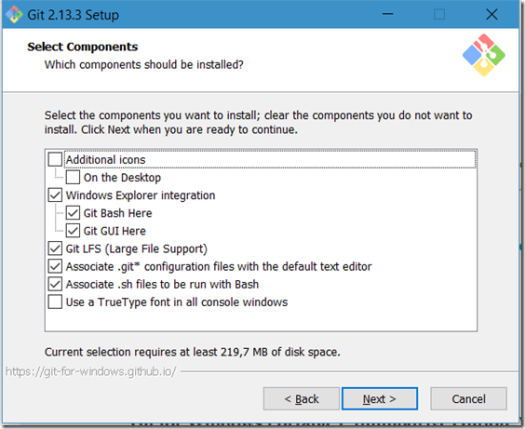
Now select a few components. You can add some icons to the desktop and I opt for the settings to add Windows Explorer Integration and the other defaults.
I also have it install the icons on the desktop for quick access, you can always throw ‘em in the bin if you think they are in your way.
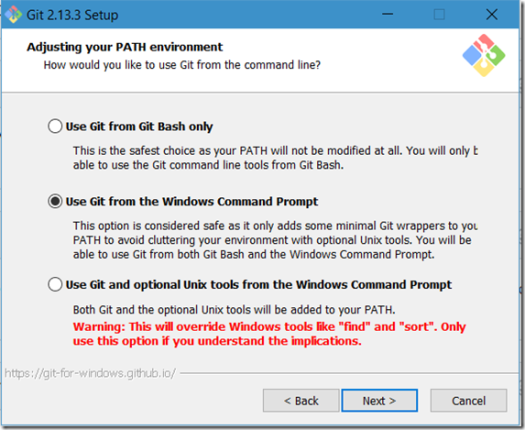
The next dialog above is for adjusting the PATH environment. My option is to “Use Git from the Windows Command Prompt”. Note that with this option you’ll be able to use both Git Bash
Bash what? …
Ok, ok, I know, if you are native from Windows you probably won’t even know what Bash is. For now, you don’t need to know other than that this is some sort of a Linux command line option.
Don’t worry, you get the hang of it once you are moved over to the ‘other side’.
Choosing the HTTPS transport backend I opted to “Use the native Windows Secure Channel library” (just because we are still in the mood of Windows, you can change this later if you like).
Configuring the line ends I leave the default as it was the recommended setting on Windows “Checkout Windows-style, commit Unix-style line endings”
You already noticed it, there is a lot of Unix influencing here … Bash, LineFeeds … it takes me back to the time I studied Computer Science. #throwbackwednesday
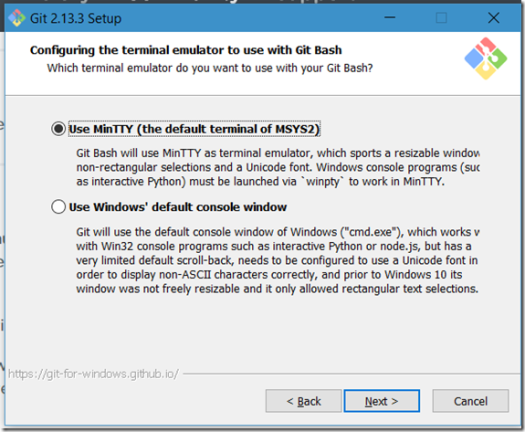
The next dialog is no different. Configure the terminal emulator to use with Git Bash
The option selected allows you to use both MinTTY as terminal emulator as the common Windows Console (“cmd.exe”).
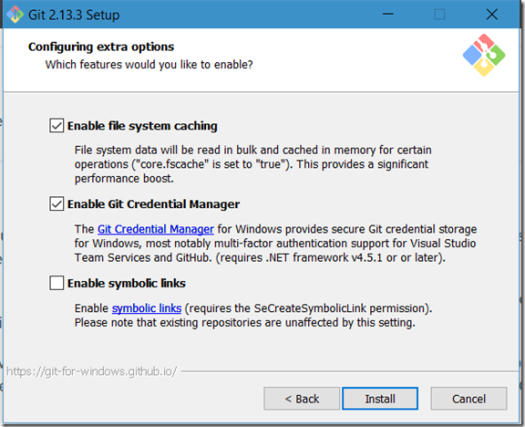
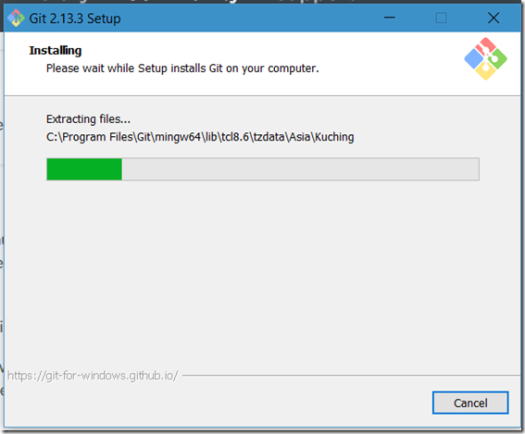
Again, select the defaults to enable file system caching and enabling the Git Credential manager. Hitting Install will kick off the Git Installer to install all the selected options you entered on the dialogs above:
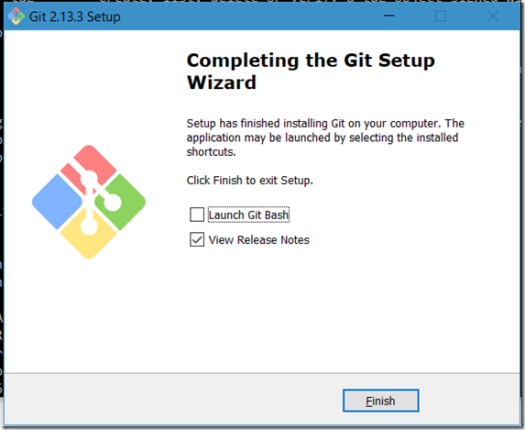
Done, if you want to have a quick view at what Bash is tick the option to Launch Git Bash. Otherwise it will just lead you to the Release Notes (if you didn’t remove the check before “View Release Notes” that is). You now have Git on your machine, check the version again by running git –version again.
You should see this (or a newer version if you read this later than the day of the blogpost):
Ready to go into the next step to install Yeoman.
Yeoman whaaaaaaaaaaaaaat?
Yes, Yeoman … more in my next blog post.
Hang in there and see you tomorrow! You get used to it … let it all get into your system, GoogleBing it a bit for some extra context, perform all the steps from above doing it yourself and be ready for the next step.



![clip_image002[1] clip_image002[1]](http://maartenvanstam.files.wordpress.com/2017/08/clip_image0021_thumb.png?resize=244%2C116)
2 Replies to “Office Development – Installing Git”