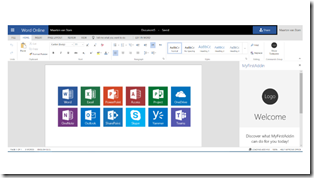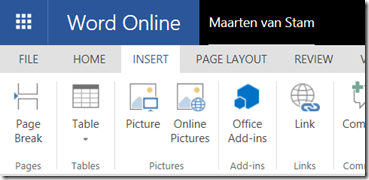
In my last post Office Development – Running Word Online Add-in I explained how to install your Add-in to use in Word Online. Today we will bring the same Add-in into your local Word client installation, Word 2016:

To do so you first need to start your ‘web server’ again by calling
npm start
from the root of your Add-in folder.
Now you have your ‘web server’ up and running and we need to make this visible for Word. Word is able to ‘see’ Add-ins that are exposed by manifest files in a shared network location or web URL. Today we will use the shared network location to expose the manifest file.
To create a shared network location, you simply create a dedicated folder on your machine:

In this case I just created an extra folder in the Add-in project called addinshare.
Don’t forget to copy the manifest file “my-first-addin-manifest.xml” to the just created folder!
Now create the network share by opening the Explorer. Go to “This PC” and select from the menu/ribbon “Manage”
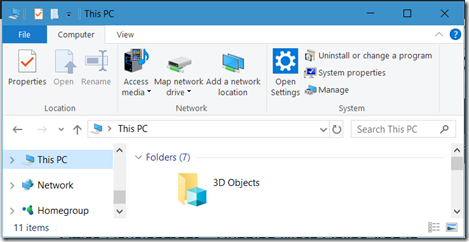
This will open the Computer Management tool. Browse in the left tree to Computer Management\System Tools\Shared Folders\Shares, select it:

Select Action, New Share:

Go to the folder that you dedicated for your Add-in


Click Next to continue
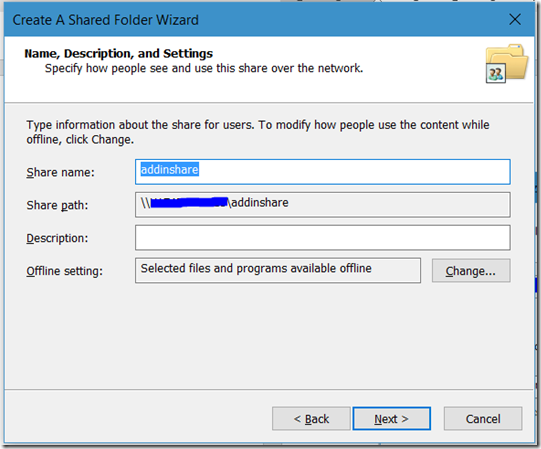
If you like change the name of the share, and click Next
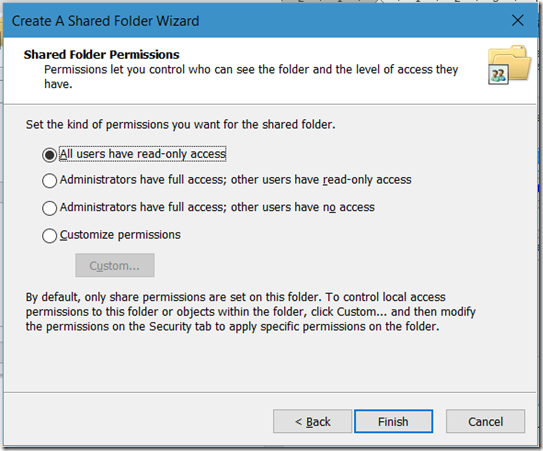
For now, add All Users have read-only access (you might want to change the access rights later on but for demo purposes pick the default) and click Finish.
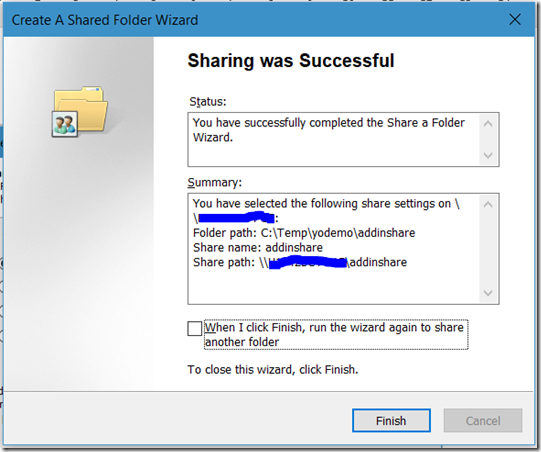
Click Finish again to close the dialog and close the Management Tool.
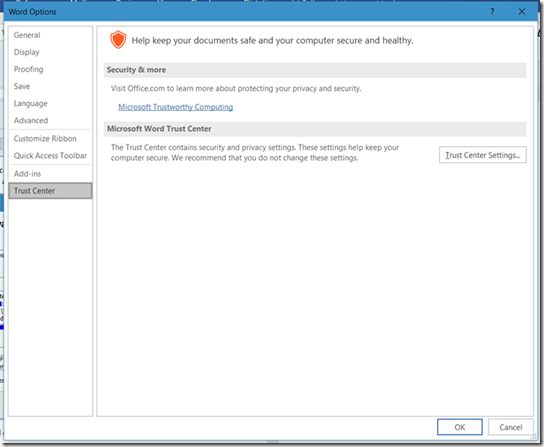
Now back to Word, goto the Trust Center under File, Options, Tab Trust Center, Button “Trust Center Settings …”
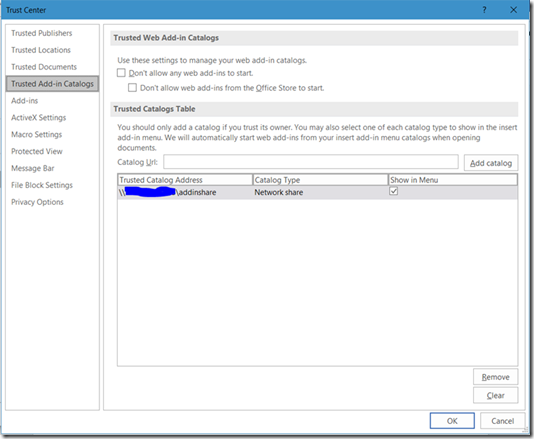
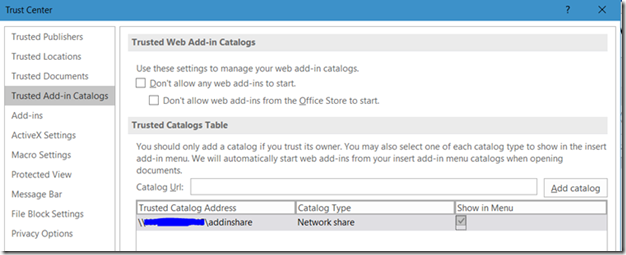
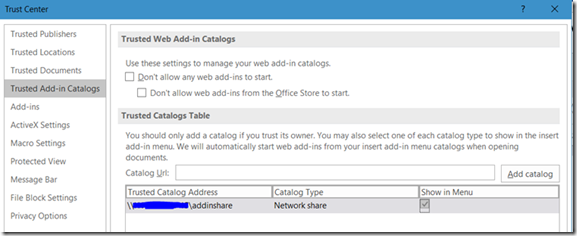
On the left side select “Trusted Add-in Catalog” and in the Catalog URL enter the network share from your computer \\<computername>\<sharename> that you just created in the previous steps. Click Add catalog to push it in the list.
When added to the list, check the checkbox Show in Menu to make it available in Word.
Note: Before clicking “Add catalog” it would be a good thing to check in Explorer that your folder spelling of the shared folder is correct and is opened without issues.
Click OK twice to close the dialogs. You may see this as well:

If all went right you should be able to add your Add-in to Word. Close all instances of Word and restart Word.
Go to the Insert Tab, just like you did in Word Online from the previous post and click My Add-ins:

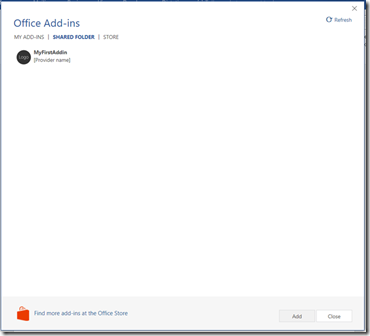
Clicking the My Add-ins button in the ribbon will give you the dialog below if you select the option SHARED FOLDER (notice that Word recognized the share and provided you with this menu option. If the share wasn’t recognized the option for SHARED FOLDER would not appear).
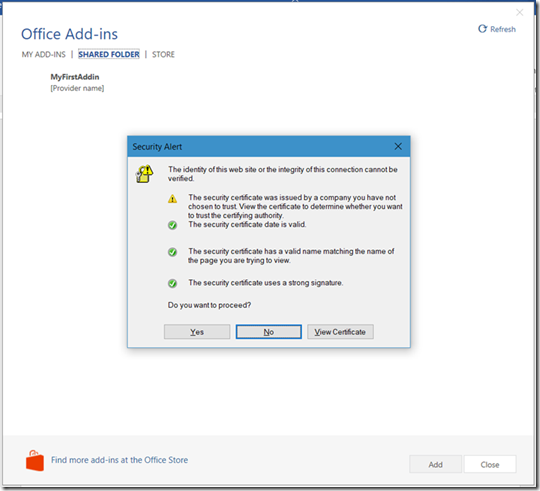
What is up? Didn’t we fix the certificate issue? We had it running in the browser, didn’t we?
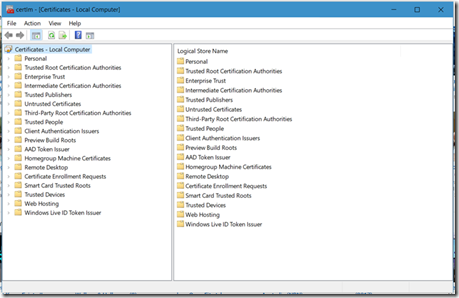
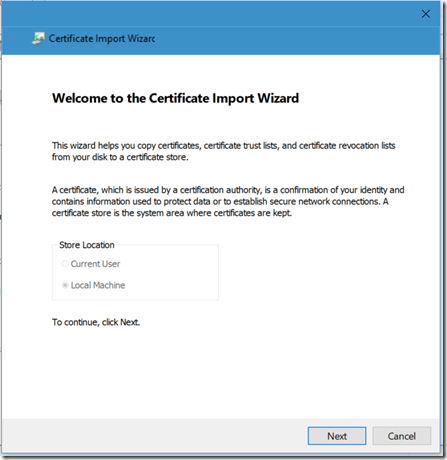
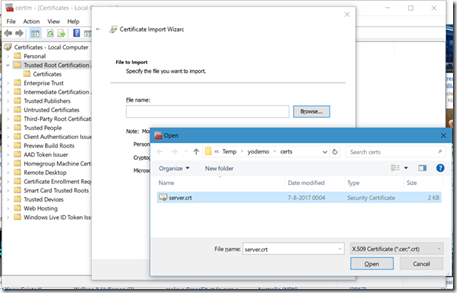
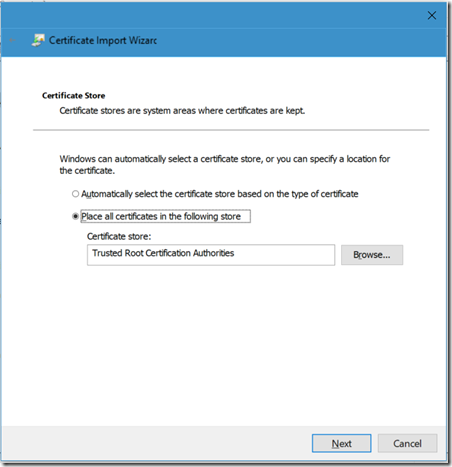
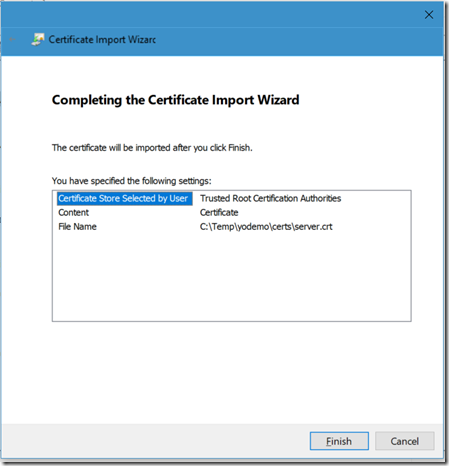
Well, yes … but what I forgot was to add the certificate to the list of trusted authorities. For now we can go on, we know it is safe but we need to fix this later on (food for another blogpost ).
Click Yes to confirm, select the MyFirstAddin an click Add.
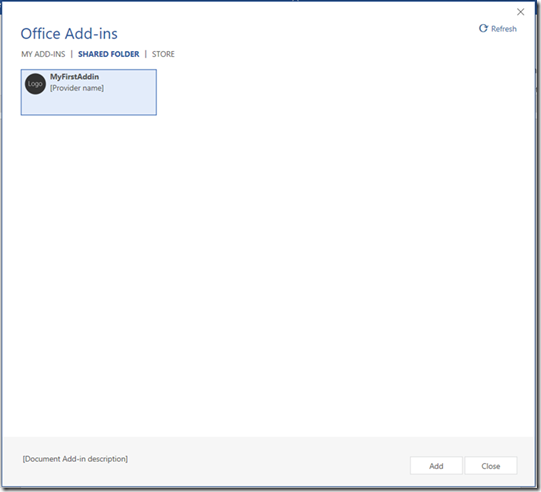
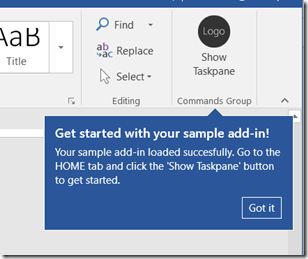
After closing the dialog by clicking Add a new Ribbon item is added to your Word Home Tab:
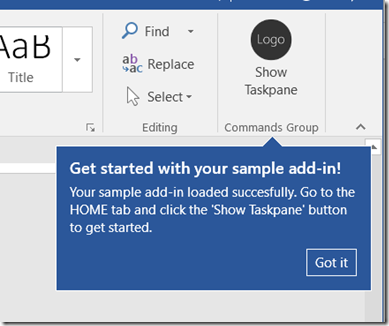
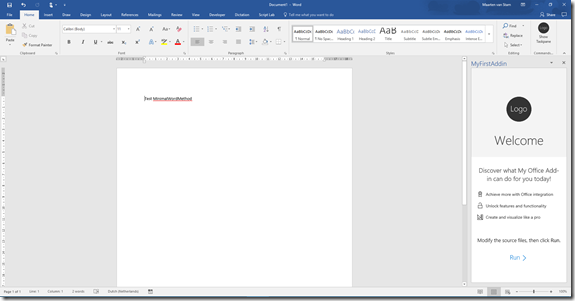
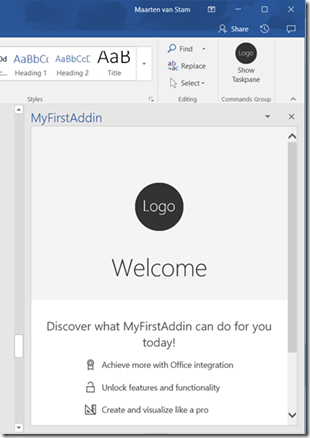
Kinda useless information, you are already on the HOME tab … nevertheless, click the “Show Taskpane” button to get started. For me this resulted in:
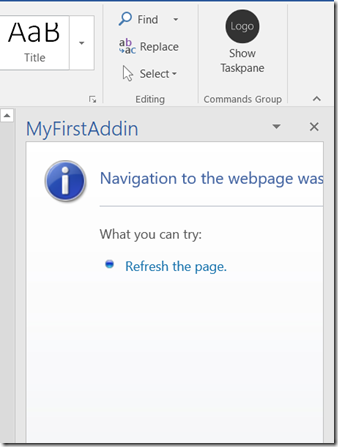
Sh*t happens so I refreshed the page, to see what happened:
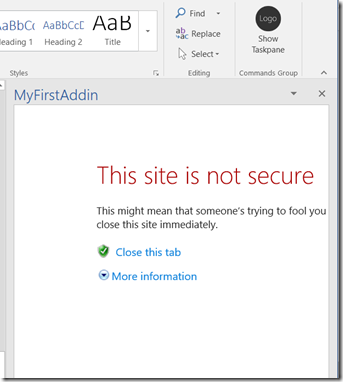
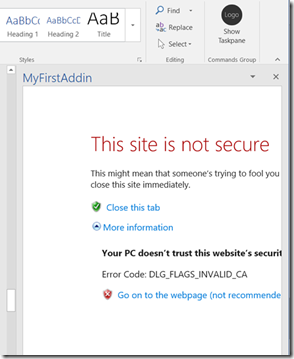
A bit better, but still not right. This time we recognized the “not secure” warning. My own fault, it still needs the trusted authority fix. For now, click More information:
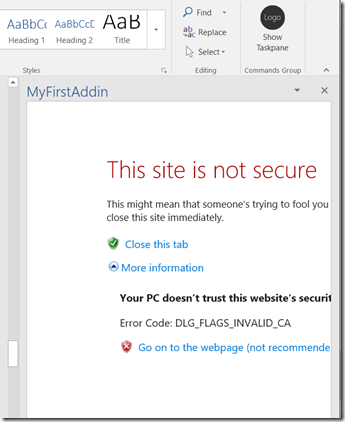
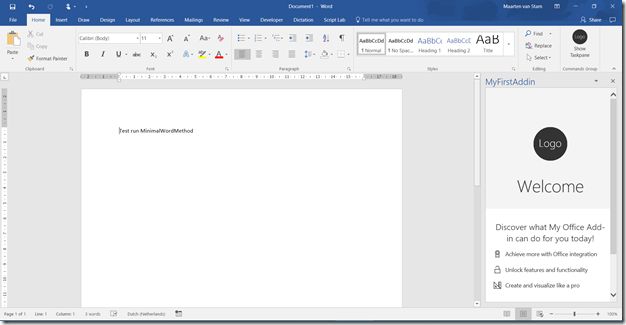
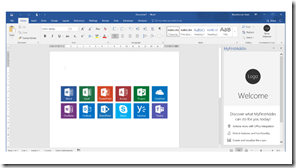
This opens up the option to Go on to the webpage (not recommended). We know it is ok in this case, if the source was unknown you should just back out and close the add-in. In this case we created it, know it is secure so we go on to the website, although it was not recommended. We like to be a little bit stubborn at times and there you have it, it worked:
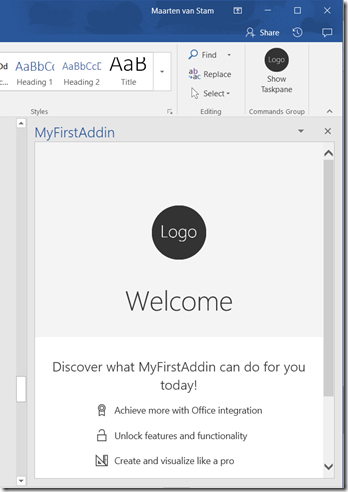
Quite a journey again, still not flawless but cause by my own doing. We now have the Add-in running in both Word Online and in Word 2016 on your local machine.
In our next step, I’ll add the certificate to the trusted authorities to redo this without issues, hopefully…
To be continued
Like this:
Like Loading...
![]()


